


不少朋友都喜欢用ps应用,那么大家清楚制作桌球文字的操作吗?若还不了解,就来学习ps制作桌球文字的详细操程吧!
ps制作桌球文字的详细操作

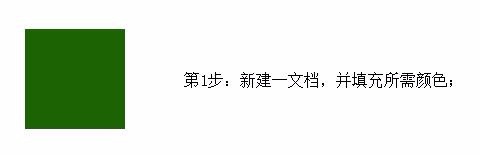
1、新建一文档,并填充所需颜色;
2、输入文字;在画布上写上几个字,在把字体栅格化如下图:

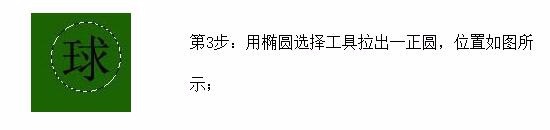
3、用椭圆选择工具拉出一正圆,位置如图所示,最后使用滤镜>扭曲>球面化
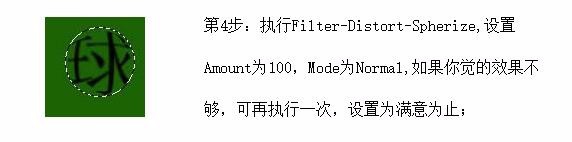
4、执行Filter-Distort-Spherize,设置Amount为100,Mode为Normal,如果你觉的效果不够,可再执行一次,设置为满意为止;
5、执行Filter-Render-Lens Flare,设置Brightness为100,Lens type为105mm Prime,并将光源移到球体左上方
6、完成后执行Select-Invert,Edit-Cut.最终效果如图:
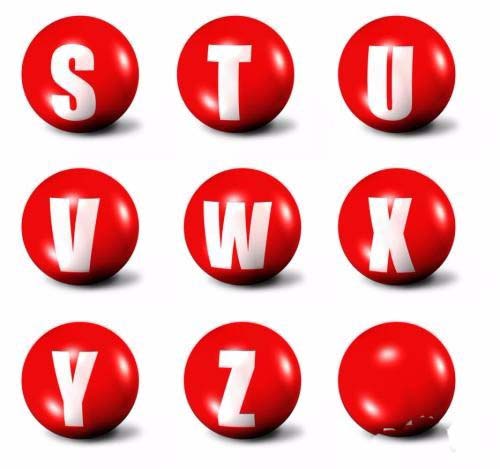
还不了解ps制作桌球文字的详细操作的朋友们,不要错过小编带来的这篇文章哦。