


前段时间不少网友问小编关于千影浏览器进行卸载的相关操作,下面小编就演示一下千影浏览器进行卸载的操作方法吧,相信对大家会有所帮助的。
千影浏览器进行卸载的操作过程

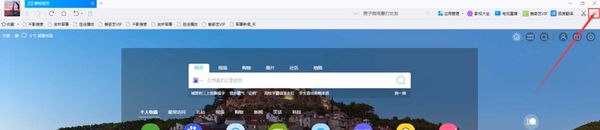
1、在电脑桌面“千影浏览器”程序图标上双击鼠标左键,将其打开运行。如图所示

2、在打开的浏览器界面,点击右上角的“三横(自定义及控制设置)”命令选项。如图所示
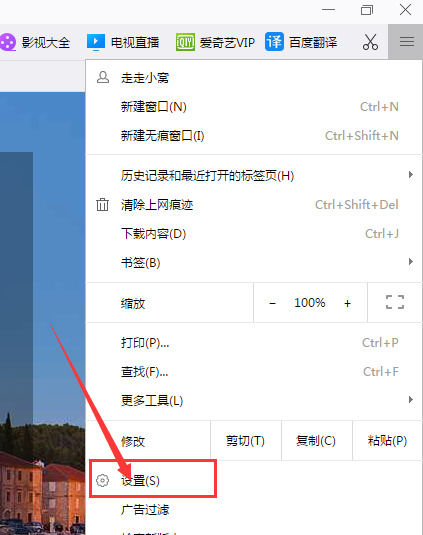
3、在弹出的工具菜单选项中,点击“设置”命令选项。如图所示
4、点击“设置”命令选项后,这个时候会弹出浏览器“设置”对话窗口。如图所示
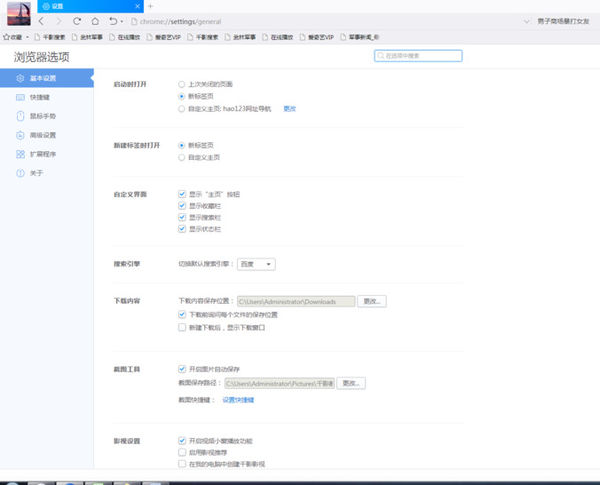
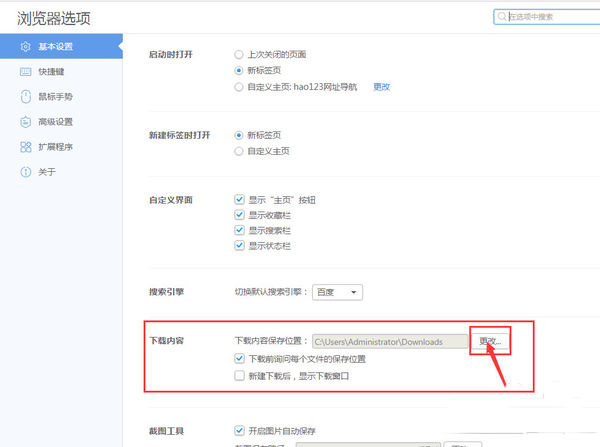
5、设置对话窗口中,找到“基本设置”选项并点击它。如图所示
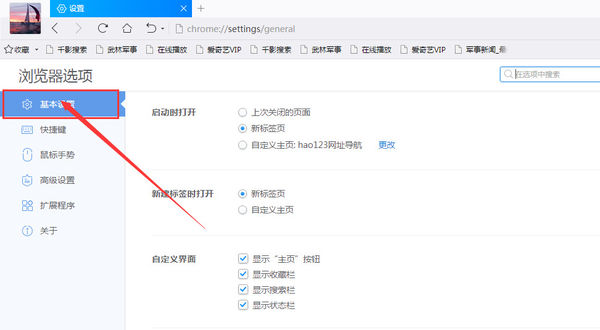
6、在基本设置下,找到 “下载内容”选项,并点击选项后的“更改”按钮。如图所示
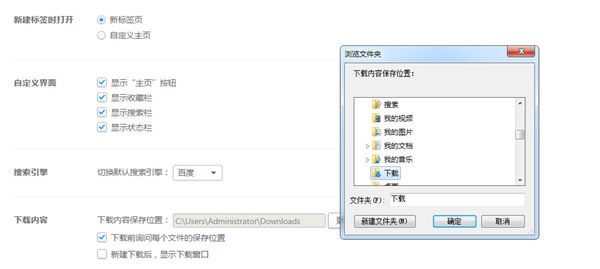
7、点击更改按钮后,这个时候会弹出“浏览文件夹”对话框,如图所示
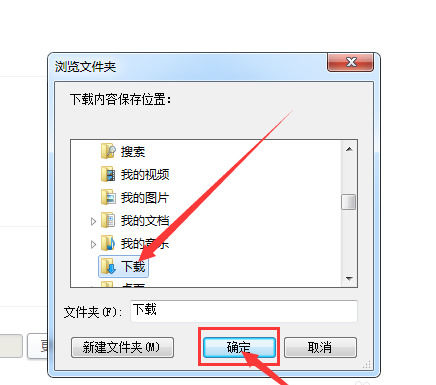
8、在浏览文件夹对话框中,选择要常用保存的文件位置,最后点击“确定”按钮即可。如图所示
各位小伙伴们,看完上面的精彩内容,都清楚千影浏览器进行卸载的操作过程了吧!