


对刚接触iSee图片专家这款应用的小伙伴而言,制作四色渐变图形还有点难度,那么该怎么办呢?下面就是小编带来的iSee图片专家制作四色渐变图形的操作内容。不要错过哦!
iSee图片专家制作四色渐变图形的操作流程

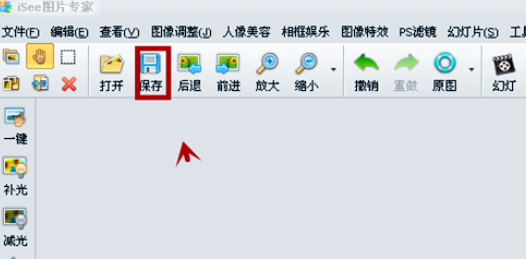
打开iSee图片专家软件。
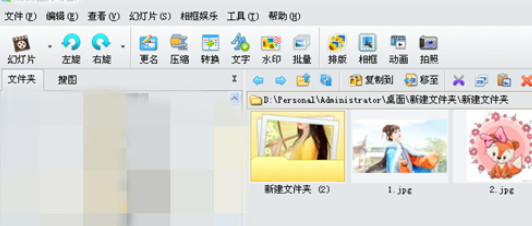
在iSee图片专家中选择图片名称,打开。
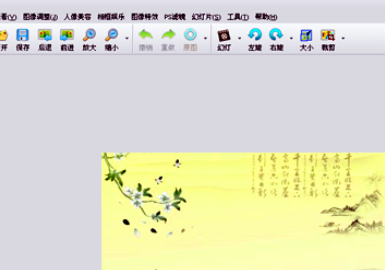
打开图片后点击【影楼效果】。
在影楼效果中点击【渐变】。
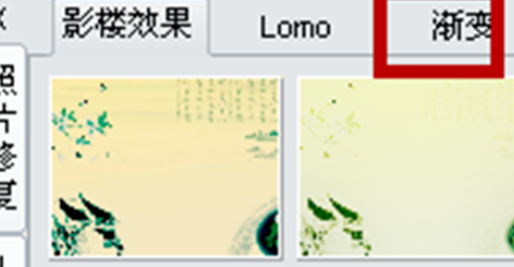
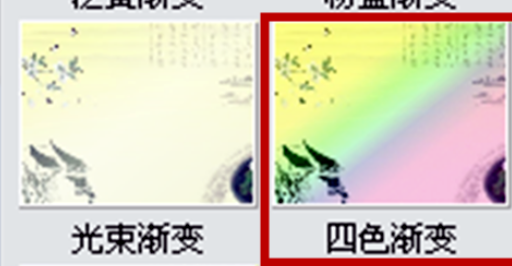
在渐变中点击【四色渐变】。
图片做好,点击保存,保存图片。
各位小伙伴们,看完上面的精彩内容,都清楚iSee图片专家制作四色渐变图形的操作流程了吧!