


不少网友都还不了解win10系统设置虚拟键盘功能的操作过程,下面小编就讲解win10系统设置虚拟键盘功能的操作方法,希望对你们有所帮助哦。
win10系统设置虚拟键盘功能的操作过程
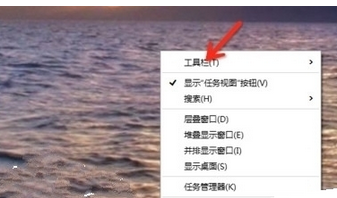
1、在win10任务栏空白处鼠标右键菜单,然后在菜单中选择“工具栏”选项;如图1所示
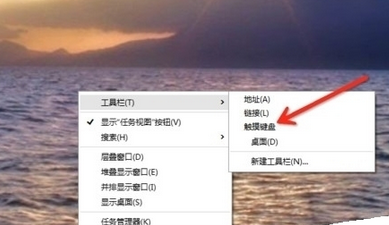
2、然后在工具栏菜单选项中选择“触摸键盘”选项;如图2所示
3、这时候也会在任务栏中出现“虚拟键盘”图标,点击即可打开启用
4、点击任务栏虚拟键盘后就可以使用屏幕键盘。
上文就讲解了win10系统设置虚拟键盘功能的操作过程,希望有需要的朋友都来学习哦。