


想必有不少网友还不熟悉win7系统安装usb无线网卡的简单操作,而接下来的这篇文章就详细讲解了win7系统安装usb无线网卡的操作方法。
win7系统安装usb无线网卡的简单操作
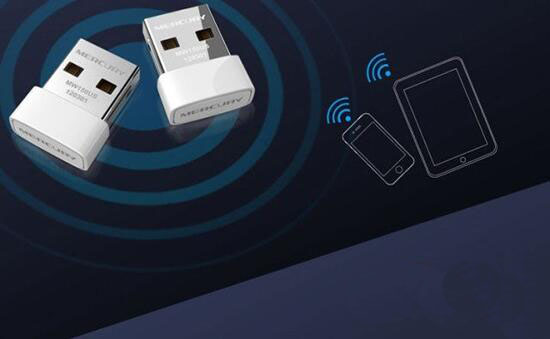
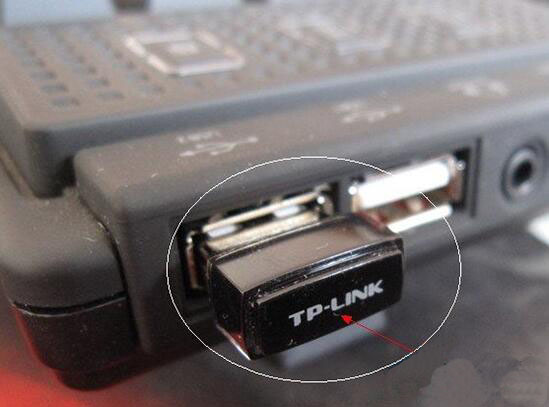
1、将USB网卡插入到USB插口中,前面后面都可以;如图所示:
2、USB网卡插好之后,接下来我们就要为其安装驱动使它能正常工作,USB网卡一般会有随机驱动光盘安装更简单,不过考虑到很多朋友没有光驱,我们还是用驱动类软件来完成吧。如使用卤蛋师进行驱动检测,然后会找到没有安装启动的网卡。如图所示:
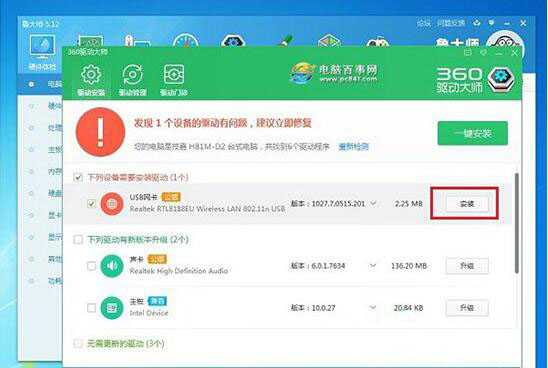
3、点击安装,系统会自动下载网卡驱动并安装。安装完成后,就可以点击右下角的网络图标搜索无线并进行连接了!如图所示:
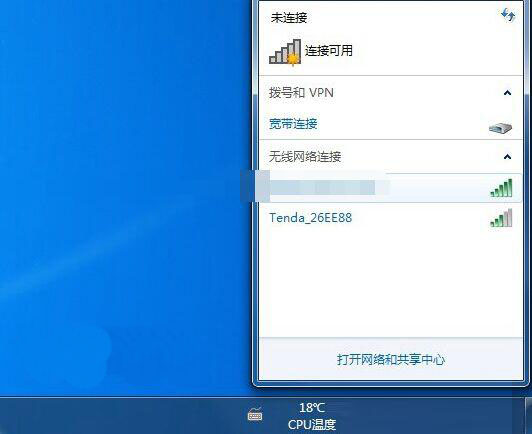
温馨提醒:安装了无线网卡要把网线拔掉!
各位小伙伴们,看完上面的精彩内容,都清楚win7系统安装usb无线网卡的简单操作了吧!