


有很多朋友还不知道Everything如何设置运行历史保存天数,所以下面小编就讲解了Everything设置运行历史保存天数的方法,有需要的小伙伴赶紧来看一下吧,相信对大家一定会有所帮助哦。
Everything如何设置运行历史保存天数?Everything设置运行历史保存天数教程
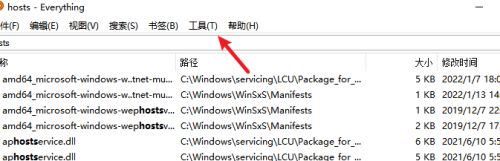
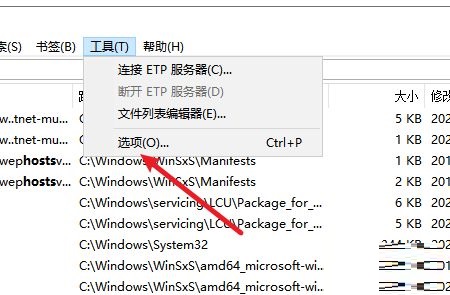
1、首先打开Everything软件,点击上方菜单栏中的"工具"(如下图所示)。
2、再点击下方给出列表中的"选项"(如下图所示)。
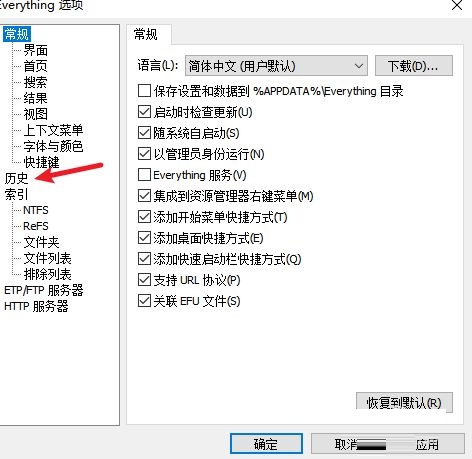
3、进入到新界面后,点击左侧中的"历史"选项(如下图所示)。
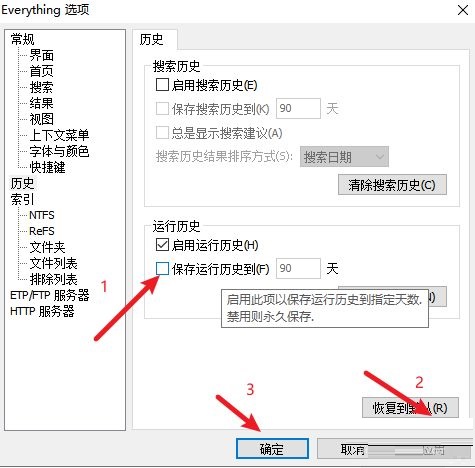
4、然后找到右侧"运行历史"中的"保存运行历史到",将其小方框勾选上,并在输入框中设置想要保存的天数,最后点击应用确定就可以了(如下图所示)。
上面就是小编为大家带来的Everything如何设置运行历史保存天数的全部内容,更多精彩教程尽在华军下载。