


很多小伙伴不知道photoshop cs6怎么设置立体字效果,所以下面小编就分享了photoshop cs6设置立体字效果的方法,一起去看看吧,相信对大家会有帮助。
photoshop cs6怎么设置立体字效果?photoshop cs6设置立体字效果的方法
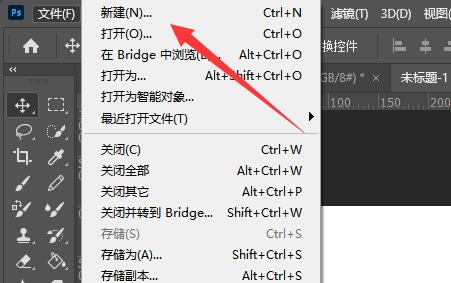
1、首先我们打开photoshop cs6,新建一个画布(如图所示)。
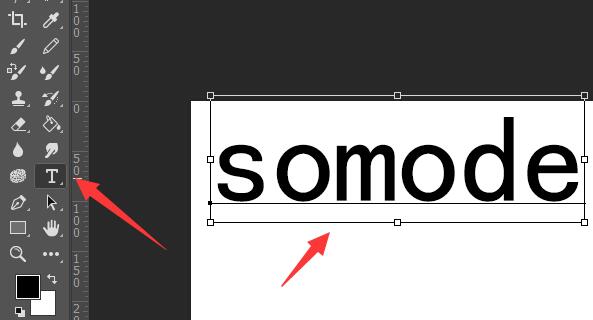
2、接着使用“T文字”工具,写上需要设置立体的字(如图所示)。
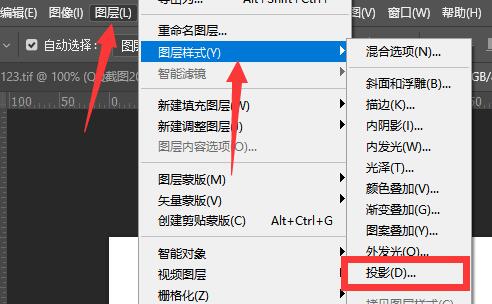
3、然后点击顶部“图层”,选择“图层样式”下的“投影”(如图所示)。
4、打开投影后,将混合模式改为“正片叠底”,角度改为“180度”,颜色根据文字颜色来定(如图所示)。

5、随后修改距离、扩展、大小参数,这几个参数和字体大小有关,需要结合具体情况进行设置(如图所示)。

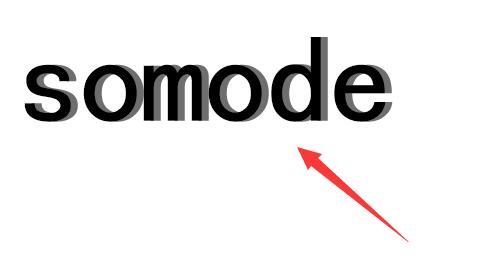
6、设置完成后,点击“确定”就能完成立体字的设置了(如图所示)。
上面就是小编为大家带来的photoshop cs6怎么设置立体字效果的全部内容,更多精彩教程尽在华军下载。