


近期有很多小伙伴咨询小编photoshop cs6怎么设置图片边缘渐隐效果,接下来就让我们一起学习一下photoshop cs6设置图片边缘渐隐效果的相关教程吧,希望可以帮助到大家。
photoshop cs6怎么设置图片边缘渐隐效果?photoshop cs6设置图片边缘渐隐效果教程
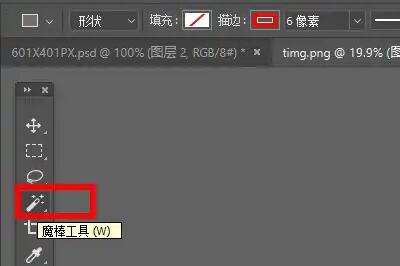
1、首先我们导入想修改的图片,并选择左边的魔棒工具,如图所示。
2、然后使用魔棒选中“图片外轮廓区域”,如图所示。

3、选中后鼠标右键点击它,选择“羽化”,如图所示。

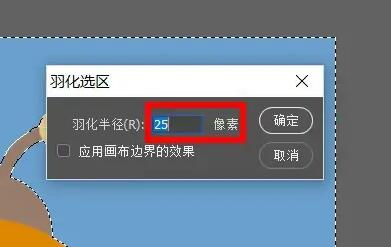
4、然后设置羽化半径并保存(这里半径就代表了渐隐边缘的大小,设置越大),如图所示。
5、设置完成后就能发现图片边缘渐隐了,如图所示。

上面就是小编为大家带来的photoshop cs6怎么设置图片边缘渐隐效果的全部内容,更多精彩教程尽在华军下载。