


今天小编讲解了ps吸管工具怎么用的相关教程,下文就是关于ps吸管工具怎么用的详细步骤,一起来学习吧,希望可以帮助到大家。
ps吸管工具怎么用?ps吸管工具的使用教程
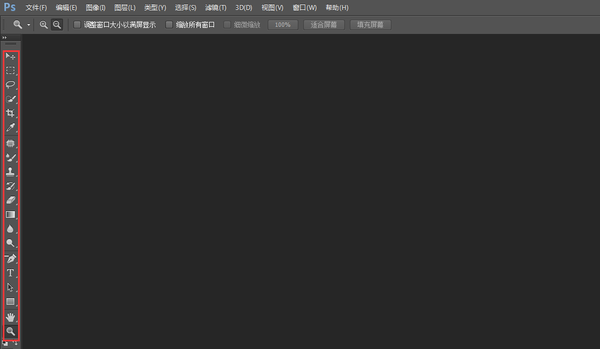
第一步:打开PS软件,找到左方工具栏(如图所示)。
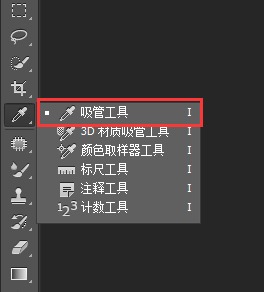
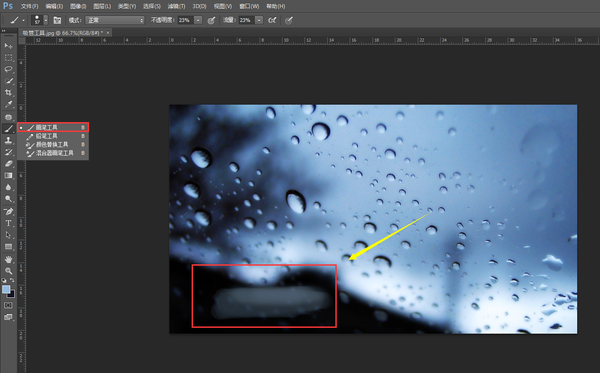
第二步:在工具栏中,找到我们需要的吸管工具(如图所示)。
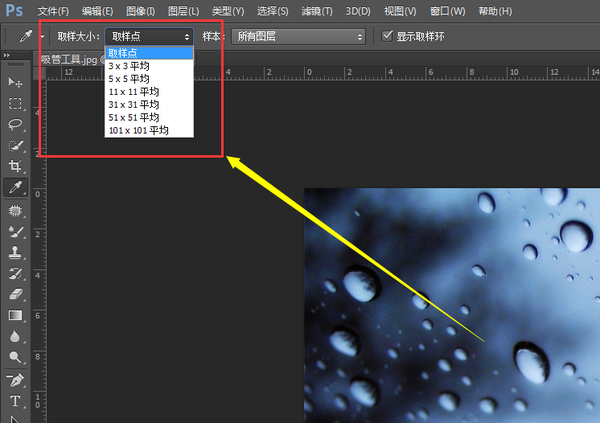
第三步:我们打开一张素材照片,并点击吸管工具,我们能看到出现取样大小的窗口(如图所示)。
第四步:我们点击画面,想提取的颜色,然后颜色数值就出现在默认前景色和背景色中(如图所示)。
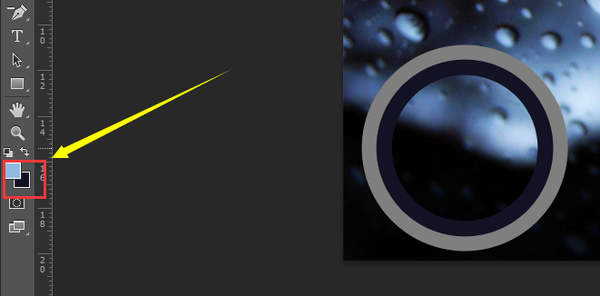
第五步:做到这一步后,我们所想要提取的颜色就出现在拾色器界面上了,而且我们也能看到相应的颜色属性数值等(如图所示)。

第六步:然后我们就可以直接使用这个颜色,我们来做一个小示范(如图所示)。
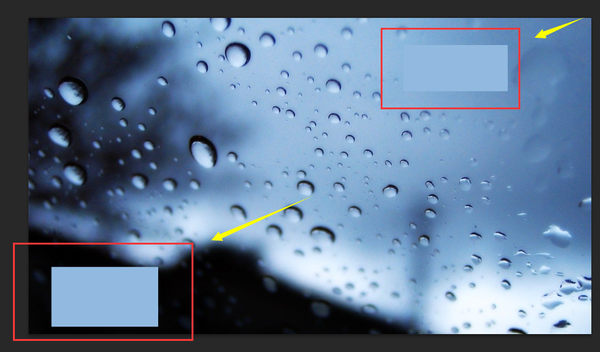
第七步:我们也可以在之后选中相应的区域,点击颜色器,点击画笔就能将该区域进行颜色填充(如图所示)。
上面就是小编为大家带来的ps吸管工具怎么用的全部内容,更多精彩教程尽在华军下载。