


很多用户在办公中都会使用photoshop cc 2018软件,那么你们知道photoshop cc 2018怎么使用修补工具吗?下文就是小编为各位带来的photoshop cc 2018使用修补工具的方法,感兴趣的用户快来下文看看吧。
photoshop cc 2018怎么使用修补工具?photoshop cc 2018使用修补工具的方法
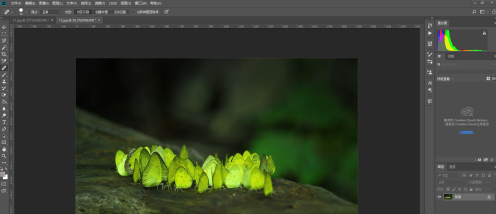
第一步,我们打开Photoshop CC 2018,打开我们需要操作的文档。
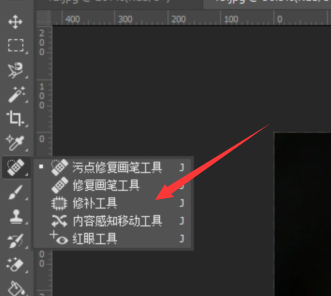
第二步,我们点击左边工具栏的修补工具,或者按快捷键shift+J切换到修补工具。
第三步,我们使用修补工具把我们需要修补的地方选中成选区。
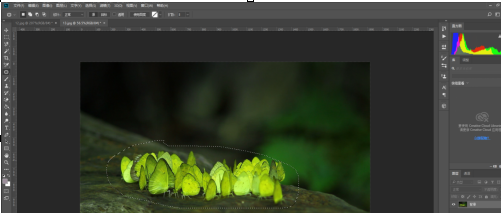
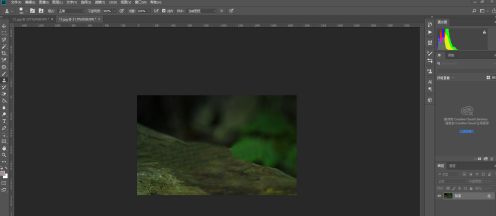
第四步,我们把选中区域移动到我们想要修改成的样子的位置。
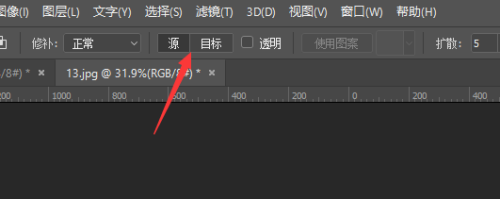
第五步,我们在工具栏中有一个源和一个目标,我们可以切换使用,目标就是先选择目标再到源。
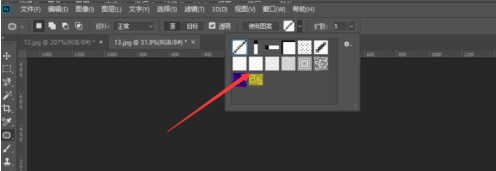
第六步,我们选择选区之后,还有图案可以选择,这个图案对整体影响不大。
以上就是给大家分享的photoshop cc 2018使用修补工具的方法,更多精彩教程尽在华军下载。