


本期为你们带来的内容是关于Adobe Illustrator cs5软件的,你们晓得Adobe Illustrator cs5怎样抠图吗?下文小编就为大伙带来了Adobe Illustrator cs5抠图的具体操作,让我们一同来下文看看吧。
Adobe Illustrator cs5怎样抠图?Adobe Illustrator cs5抠图的具体操作
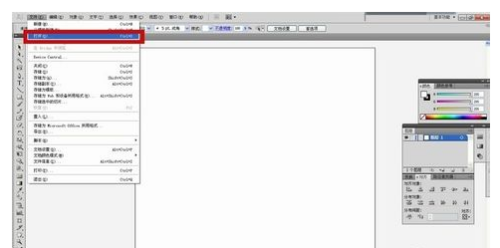
在AI软件中选择打开选项。使用打开选项的好处在于,它在处理之后不受限于图片是否还存在。
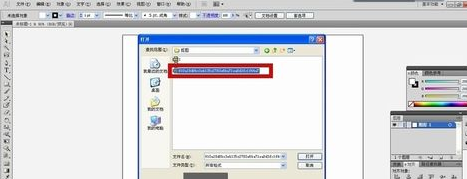
找到素材选项并打开。
选择钢笔工具,并调节描边的磅数,为方便对细节较多的图片处理,我一般会去掉填充,并且将描边的磅数尽可能调小。
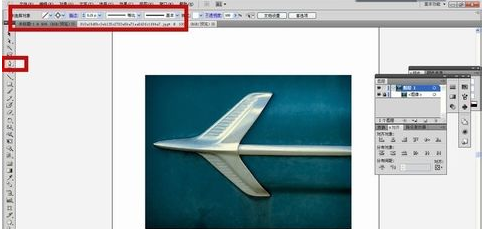
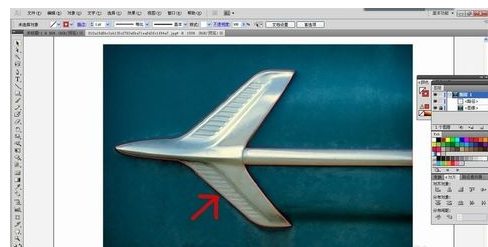
使用钢笔工具围着想要的图案勾勒一次,本次目标是图案中的飞机,红色箭头所显示的就是已经勾勒完的情形。
点击已勾勒完的封闭图案,右键选择排列在最上。原则就是勾勒的图形在上,被抠的图形在下。

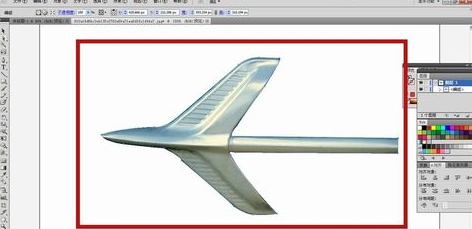
同时选中勾勒的图案以及被抠的图,然后按快捷键 ctrl+7(一定要确保只选择了两个图形),然后就得到我们想要的图形了。为方便以后的时候,可以将它导出为PNG图片,背景设为透明。
以上就是Adobe Illustrator cs5抠图的具体操作的全部内容,更多精彩教程请关注华军下载!