


360安全卫士如何进行系统备份与还原?想必很多小伙伴都不是很清楚,下面小编给大家整理了相关步骤介绍,感兴趣的小伙伴不要错过哦!
360安全卫士如何进行系统备份与还原?360安全卫士系统备份与还原教程
一、系统备份:
电脑打开360安全卫士。点击“功能大全”。

点击:系统——系统备份还原。

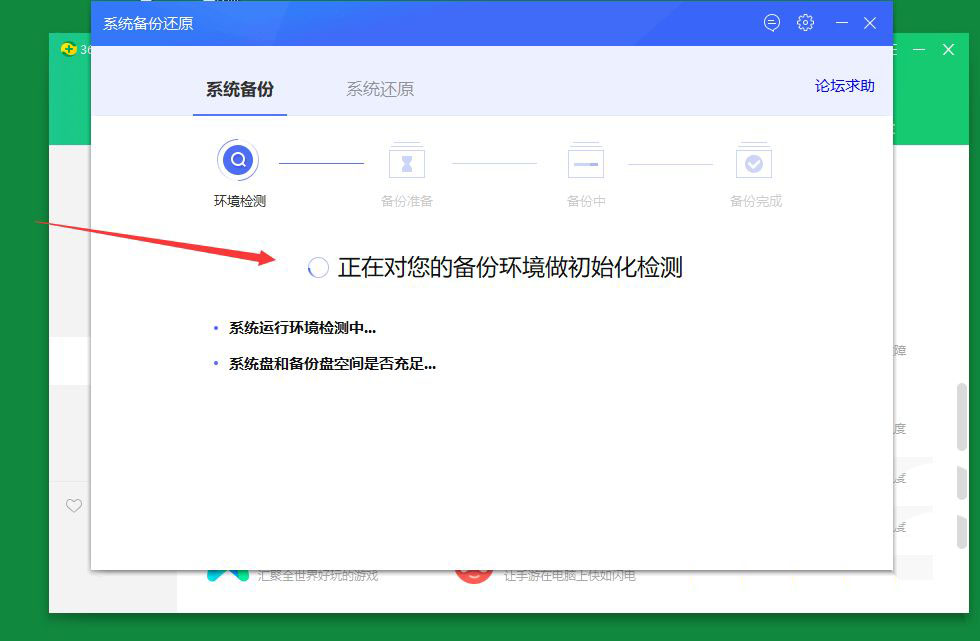
点击系统备份,点击准备备份。

系统开始检测。点击下一步,见下图二。

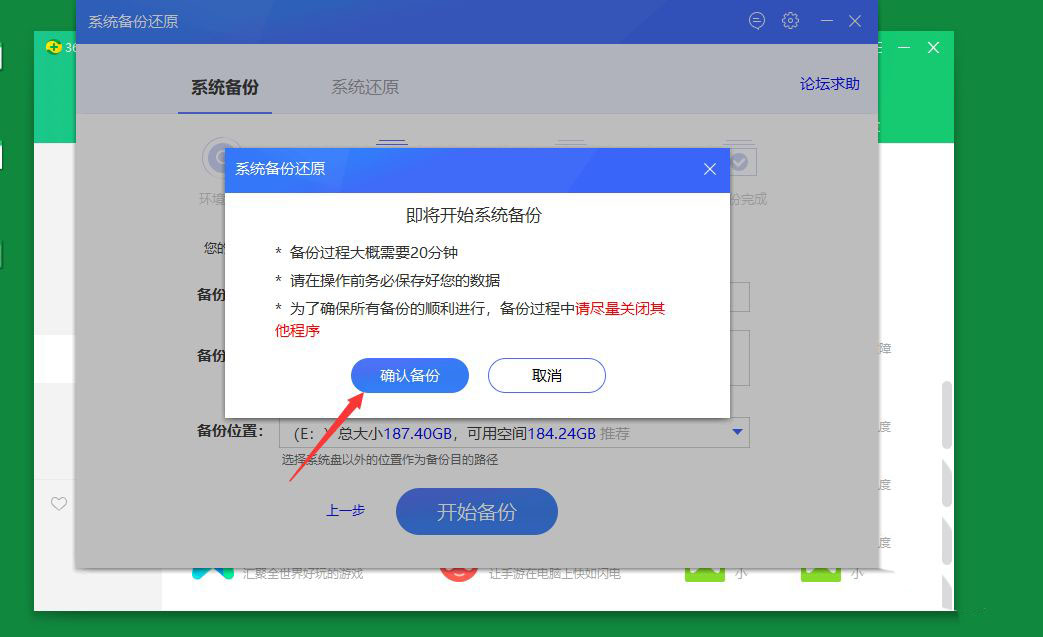
系统会自动选择一个系统盘以外,比较空闲的磁盘,这一次我们选择E盘,点击开始备份。

系统提示警示,保存好文件,退出其他程序操作,点击“确认备份”。
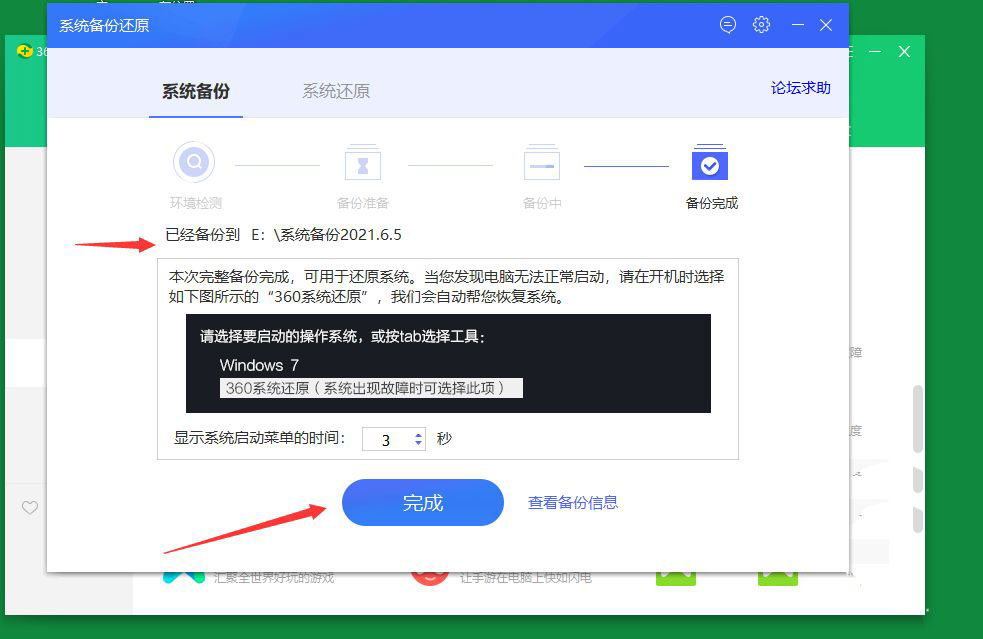
大约30分钟以后,备份完成,生成一个备份文件在E盘。点击完成。
回到E盘,我们是看不到这个文件夹的,因为为了避免误删或者移动,文件夹被定义为一个隐藏的属性,我们就不用去管了。
二、系统还原
系统还原也是在这个界面,我们点击窗口上方的系统还原选项,再点击下方蓝色的准备还原按钮就可以。

以上这篇文章就是360安全卫士系统备份与还原教程,更多精彩教程请关注华军下载!