


notion如何设置同步块呢,话说不少用户都在咨询这个问题呢?下面就来小编这里看下notion设置同步块教程吧,需要的朋友可以参考下哦。
notion如何设置同步块?notion设置同步块教程

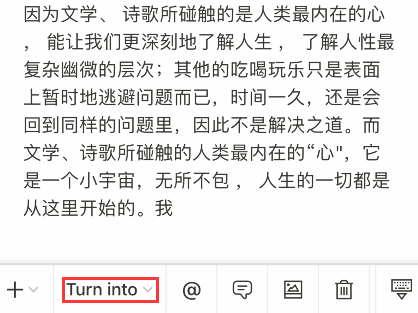
1、点击要编辑的区域,选择turn into
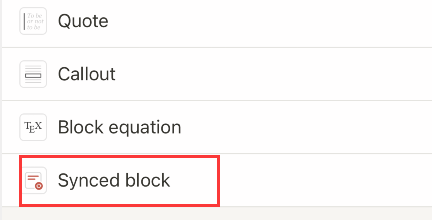
2、下拉后选择synced block
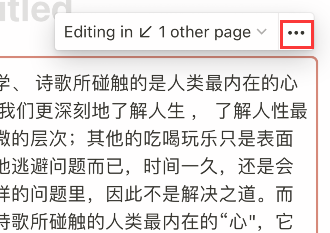
3、点击block区域右上角的三个点
4、选择duplicate
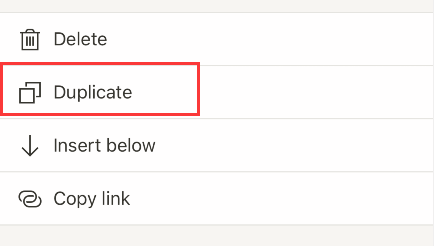
5、在一个区域编辑的内容会自动同步至另一个区域
以上这里为各位分享了notion设置同步块教程。有需要的朋友赶快来看看本篇文章吧!