


今天我们来学习一下cool edit pro去噪音的详细操作步骤,有不清楚的小伙伴,一起来学习一下吧。
cool edit pro去噪音的详细操作步骤

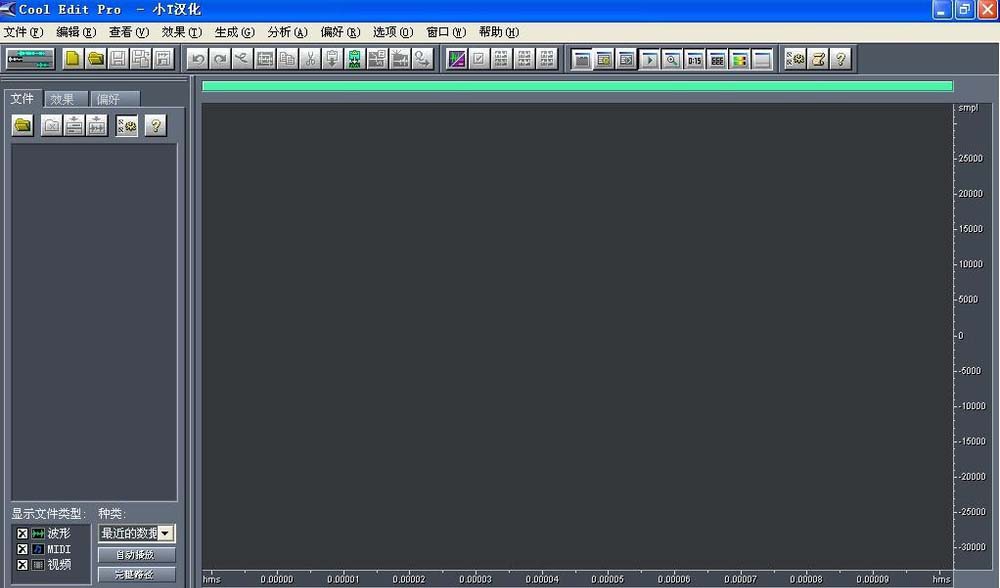
1、安装好cool edit pro后,打开该软件,进入其界面;
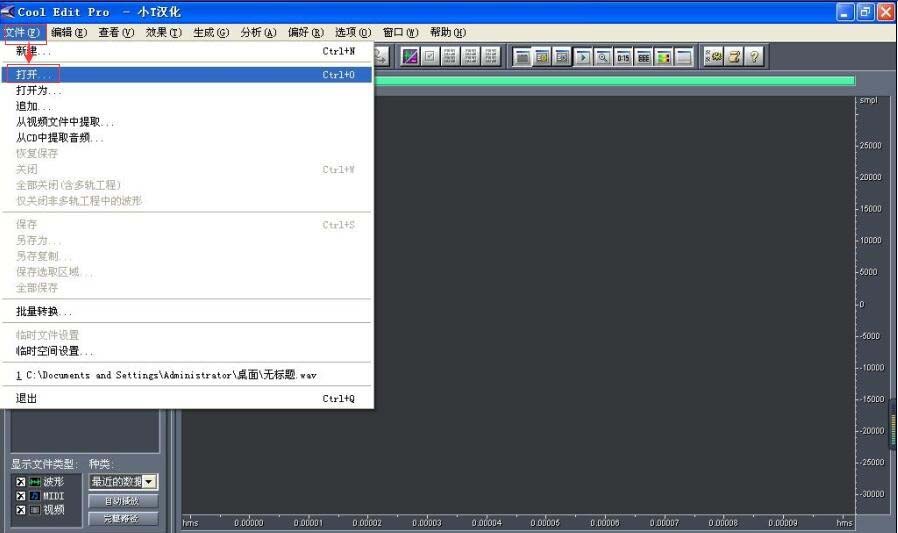
2、点文件,选择打开命令;
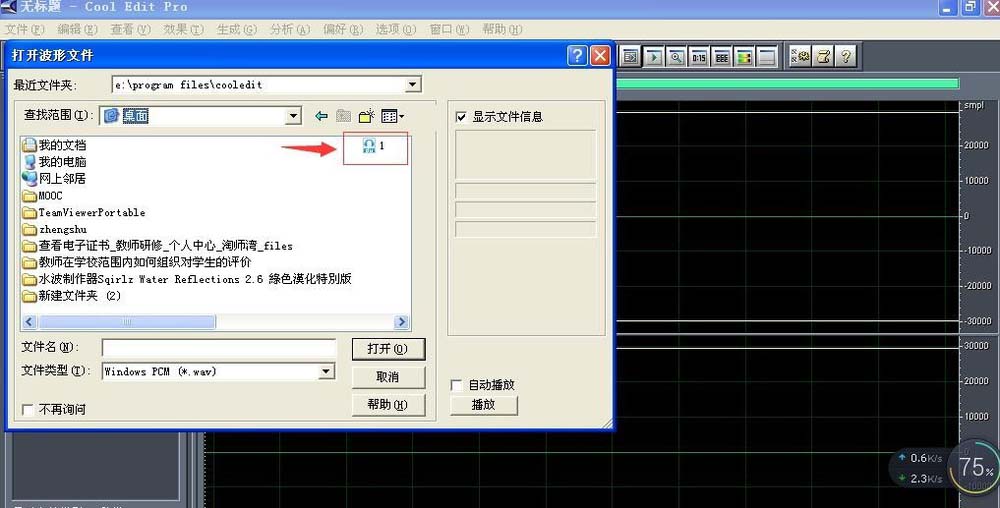
3、找到需要去噪处理的音乐,选中它,然后点“打开”;
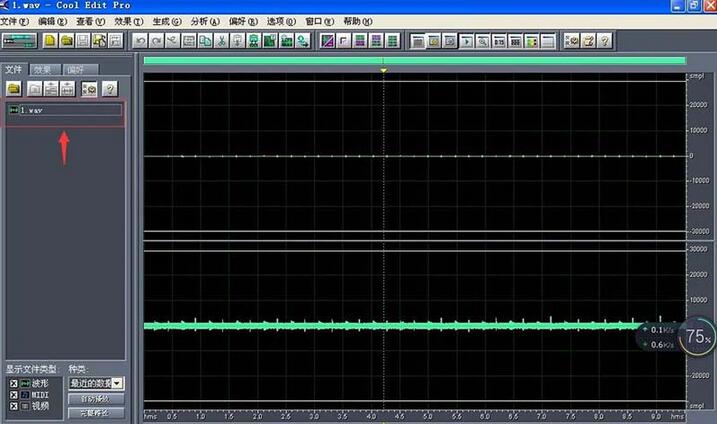
4、音频文件就导入到cool edit pro里了;
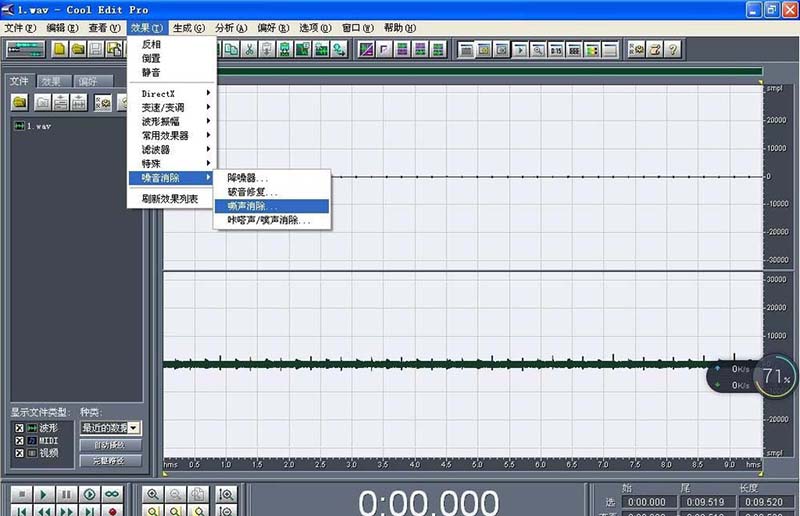
5、在效果菜单找到噪音消除,点“嘶声消除”;
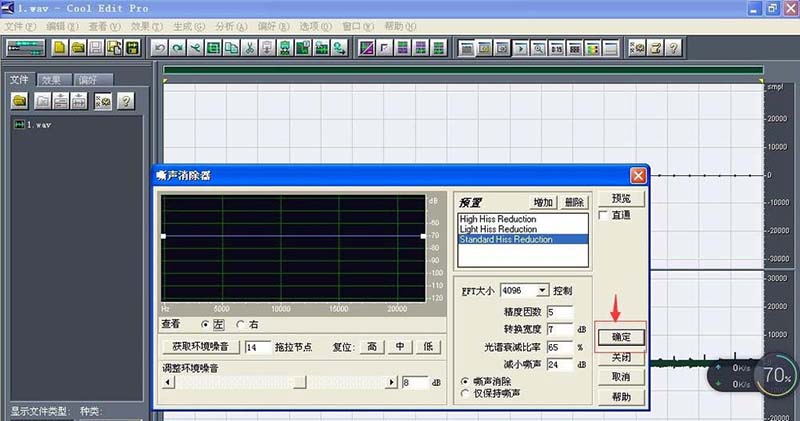
6、点确定;
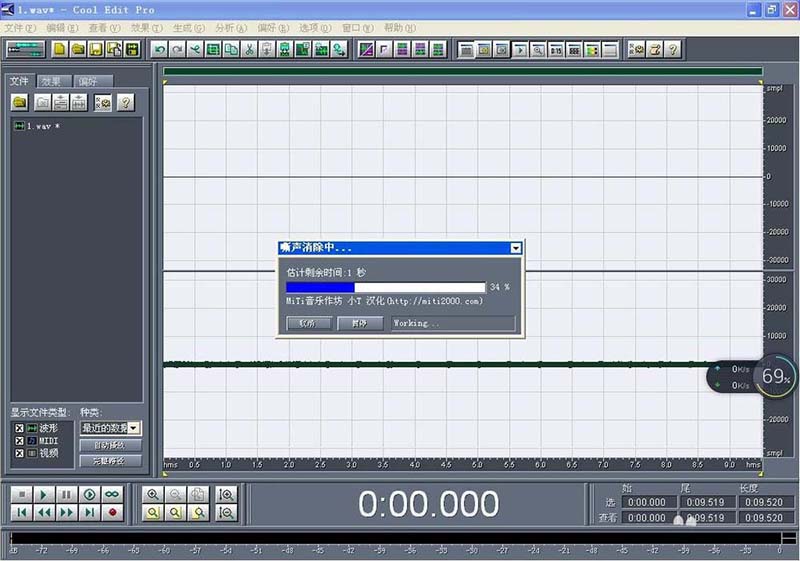
7、开始消除噪声;
8、根据需要,再在效果中选取其它命令,如“降噪器”,继续进行噪声处理,直到满意为止。

上面就是cool edit pro去噪音的详细操作步骤,小伙伴们都学会了吗?